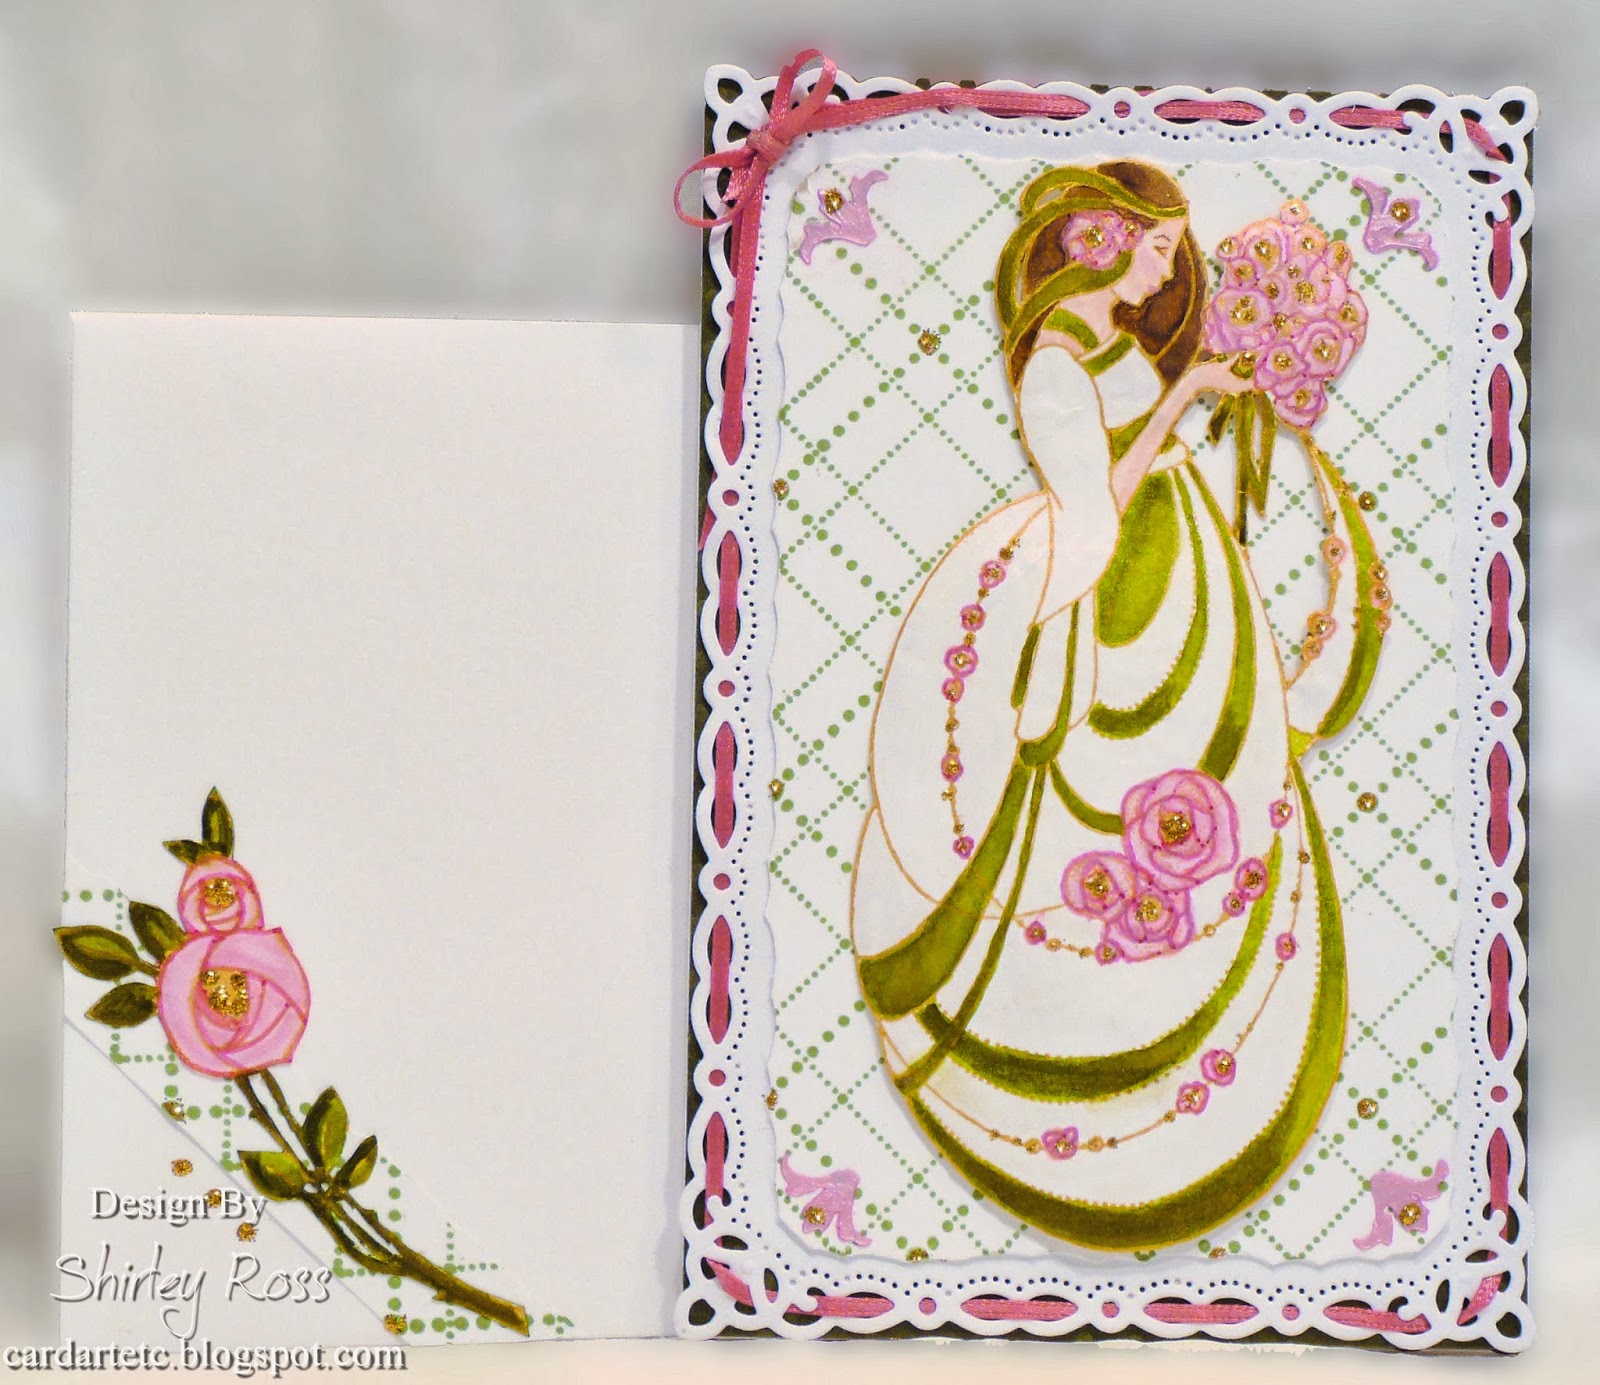
You can barely see the stitches on the flowers and leaves, but they are there!! I would never have tried the stenciled BG with modeling paste if I hadn't taken the Online Stencil Class. Below is how I created the whole card:
IMAGES, STENCIL, AND DIE CUTS:
- Stamped Stitched Flowers 3 times with Golden Glitz ink on white cardstock; painted two completely and one just the flowers with Twinkling H2O's; embossed the leaves and flowers from the back.
- Used the Crackled stencil with gold modeling creme applied with a palette knife to white Laid cardstock. It dries relatively quick. I left it for 3 or 4 hours.
- Die cut two 'hugs' on white cardstock; used leftover negatives from die cuts for exclamation mark; painted one 'hugs' and exclamation mark with twinks.
- Die cut Romantic Rectangles Two large, smallest, and next to smallest from white cardstock.
- Cut two BGs (one for front and one for inside middle) from Crackle BG.
- Die cut for inside top and bottom edges and envy using largest die with Crackle BG.
- Mounted Crackle BG to largest die cut; mounted first flowers with glue dots and leaves with 3D pop-dots; mounted second layer of flowers with glue dots in centers and 3D pop dots on petals; added Viva Decor Ice Pearl Pen to flower centers.
- CARD FOLD: Used a pencil to mark edges of largest die cut near die center; measure twice the length; cut and folded and applied to the back of the Card front. It still stands just fine by itself.
- Added die cut edges to inside top and bottom; applied Crackle BG to next to smallest die cut; mounted to inside top center; added bow to bottom.
- Watercolored edges of center embossed area on smallest die cut; double decked with painted 'hugs' on top and mounted to smallest die cut; mounted that to front lower right; applied sequins with GA here and there.
- Divided pieces of die cut edges and mounted to lower left of envy.
That's all for now. Thanks for stopping by to look and share!!
Shirley
SUPPLIES:


