Showing posts with label Sakura Glue Pen. Show all posts

Monday, December 23, 2013

A Merry Christmas and Hinged Card Type 3

I wish you and yours a very Merry Christmas and a Happy New Year if I don't see you again before then.  It's the time of year when sometimes I want to fly away, so I picked this angel to see if I could for a little while.  I did the cardfold first.

CARDFRONT AND BASE:
  1. Cut the die cut from A2 Filigree Delight die set using a piece of card stock 1" longer than the width, and folded or scored at the 1" mark.
  2. Did an extra die cut from cardstock or text paper (you can use printer paper if it's white enough to match) to attach to the back side of my die cut cardfront.  I used cardstock and it was a little thick.  Attached it using Glossy Accents.  I had to trim a little from it before attaching the shadow left-over 1" part to the base because I used cardstock instead of text for the die cut.
  3. Cut a base twice as long for the width and the same length as your die cut.  If you look close you can see I scored it in the middle.  Added two sided tape around the edges and long one side of down the middle. 
  4. I folded it in half covering the extra 1" piece from the front. If it is a little longer than the top, after you line it up with the middle, just trim it with scissors to match the front.  Now it's ready for the images.
STAMPED IMAGES:
  1.  Stamped Hannah Davies Angel with Golden Glitz on white cardstock twice, painted with twinks, cut out one image.  Cut the arm and hair from the second image.  Embossed all from the back, mounted first image with 3D pop-dots and then mounted the hair and arm on it.
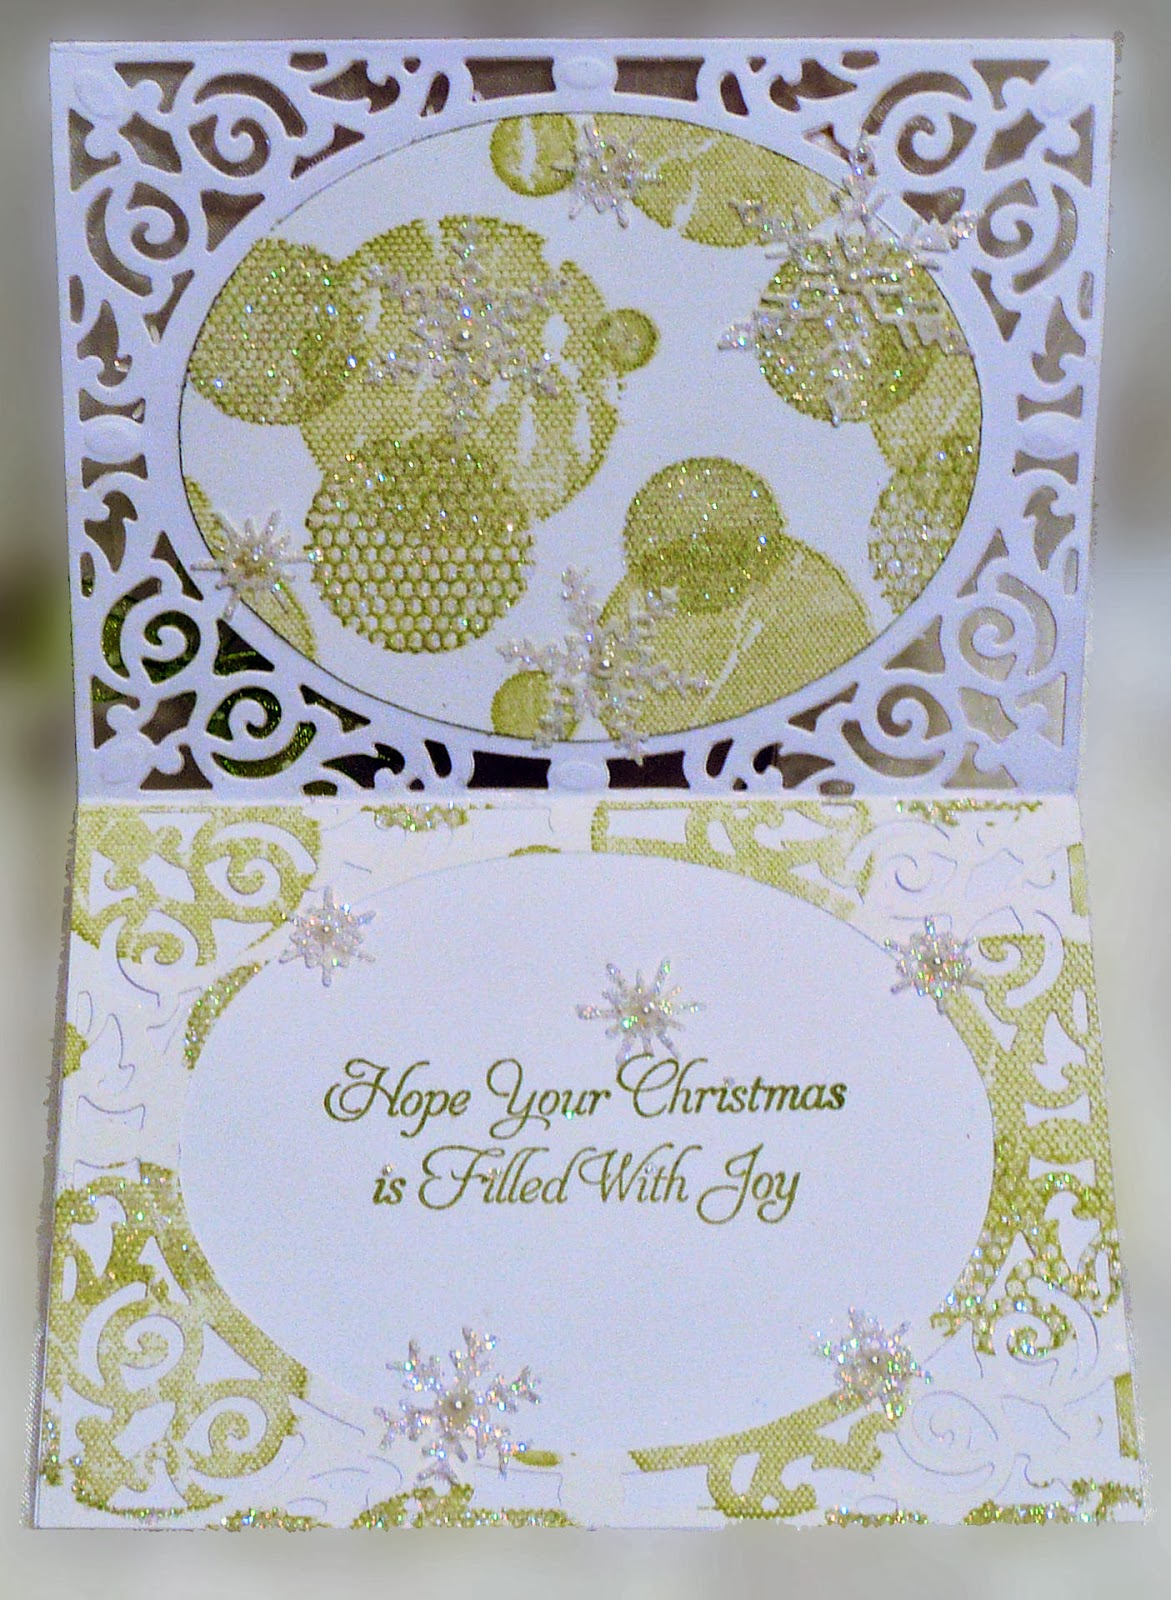
  2. Stamped CAC Mesh Circles on Neenah Solar White text paper with Memento Luxe Pistachio.  Cut another die cut from it, and then used the die to cut out the center.  The die cut was mounted on the bottom first and then the center was mounted on the inside top portion of the card.
  3. Stamped the sentiment from Round Ornaments 1 with the Pistachio in the center of the bottom part of the inside.  The ink in the photo shows up darker than it is.  Boy my pictures lately.....
EMBELLISHMENTS:
  1. The snowflakes are leftovers I had from the Small Snowflake set.  I mounted them with Glossy Accents.  Glitter and pearl stickers were applied with a Sakura Glue Pen.  The bow is Michaels ribbon.  The envelope matches the Mesh Circles and snowflakes.
This was done kind of fast so excuse the typos, etc.  A big big thank you to those of you who sent a card to the soldier.  Thanks for stopping to look and share.  Have a wonderful holiday and if you see this afterward, hope it was great too!


 Shirley


SUPPLIES:

Thursday, November 7, 2013

Snowflake Inspiration


When I saw Jenny Gropp's Snowflake card way back in September I knew I had to try it too.  Had to have that die and this is what I did with it.
CARDFRONT DETAILS:
  1. Embossed Lg. Snowflake die onto a piece of  4.5"4.5" white cardstock.  Next time I'd use 4.75" square.
  2. Used a glue pen to add glitter (starting from the outside first).  The snowflake itself is actually 4 snowflakes.
  3. Mounted pearls with Glossy Accents in my needle nose bottle and QuickStik.  It's really rare if I used the GA bottle to apply it any more.
  4. Mounted bow and used Glossy Accents and a little glitter.
  5. Stamped CAC Ornate Snowflakes, inked with Memento Summer Sky, on white cardstock.  Trimmed it to 5.0"X5.0".
  6. Using Spellbinders Adorning Squares largest die (outside edge) as a stencil, placed in the center of the 5.0" square, traced around it and then used an X-acto knife to cut it out, leaving the frame for the snowflake. (Saved the inside for the inside of the card).
  7. Cut a piece of white "Laid" cardstock 5.25"X5.25".
  8. Mounted the embossed snowflake behind the Ornate Snowflake frame.  Rounded the edges with the punch.
  9. Mounted it to the Laid cardstock and rounded the edges with the punch.
  10. Cut a piece of cardstock 5.25"X10.5", scored length at 5.25", and used Rounder punch on the edges. 
INSIDE CARD:
  1. Adorning Squares and the second largest die cut from Lg. Snowflake were used on the left-hand side.  Pearls and glitter were added as shown.
  2. The right side is the third from the smallest die form Resplendent Rectangles.  It was used as a die and then as a stencil with Magic Matter to get the white area for the stamped sentiment, Most Wonderful Time.
  3. Small Snowflake die set was used for the two snowflakes on the sentiment.  Glitter and pearls were added.
ENVELOPE:
  1. Leftovers from Ornate Snowflake background were used for the strips on the envelope and edges inside the card.
  2. The snowflake is the smallest one from Lg. Snowflake.  Glitter and a heart pearl were added to it.
A fun card!!  One last note.  I have been using a QuickStik lately to mount some of my pearls.  It isn't as sticky as the Sticky Sticks, that just won't let go.  I was surprised to see how easy it was to pick up things and how easy to release when setting the pearl, etc., down on Glossy Accents or glue.

Thanks for stopping by to look and share.


 Shirley

SUPPLIES:

Saturday, October 26, 2013

Birds And Twigs And Fun Too!

This was a quick and fun card.

IMAGES:
  1. Birds and Twigs was stamped with Brilliance Galaxy Gold on white cardstock, heated to set the ink, painted with Twinkling H2O's, and red rhinestone stickers applied as shown.  Glossy Accents was used under the stickers for extra traction.  Trimmed around it and set aside.
  2. Background is CAC Small Quatrefoil stamped with VersaMark, embossed with Stamp 'n Bond Adhesive powder, Deco Art Glamour Dust applied, and reheated so it would stick.
  3. The sentiment, Blessed Christmas, is stamped with Brilliance Rocket Red ink on white cardstock (big enough to be cut with the second largest die from Spellbinders Decorative Labels Eight, and heated to dry.
ASSEMBLY Card Base:
  1. Spellbinders Decorative Labels Eight largest die cut was used for the base and the center as a stencil over the CAC Small Quatrefoil, so it would be attached to the center.
  2.  Birds and Twigs image was mounted with 3D pop dots in the center.
  3. Red Velvet ribbon bow was mounted with Glue Dots.
  4. Red rhinestone sticker heart was done with Glossy Accents as base.
  5. The stick pin is from a Making Memories Deco set.   It may be discontinued.  Couldn't find it online anywhere.  :-(

ASSEMBLY Inside:
  1. Measured the inside of the die cut to the corners of the flowers (4.75"X3.5").  Cut white cardstock 9.5"X3.5" and scored in the middle.
  2. Used the die cut cardfront to trace the edges and trimmed to the inside.  Did the same for two pieces of Small Quatrefoil mounted to the top and bottom as shown.
  3. Die cut the sentiment with the second largest die from the Spellbinders set.
  4. Used the center as a stencil to trace around the sentiment and mounted, traced around it with a red fine end marker, applied a glue pen on top of that and added glitter to it.
  5. Placed 3 dots with the red fine point marker and added Glossy Accents to them.
  6. When dry, mounted as shown.
A really fun card.  Hope to get back sooner with another one!!  Don't forget to check out the IO blog, HERE, for challenges, blog hops and a chance to win $25 gift certificates for the IO online store.

Thanksgiving and Christmas are just around the corner!!   Thanks for stopping by to look and share.  I have missed sharing with all of you and can't wait to start hopping by.  :-)


 Shirley

SUPPLIES:

Friday, July 26, 2013

Angelic Tree and Snowman


For my card today I chose Alesa Baker's Angelic Tree, Cover-A-Card Dots, and Fir Tree die set.  I think because there is so much glitter, I had a very difficult time getting a good picture.  I created it by:
  1. Stamping the image on white cardstock with Memento London Fog, painted with Memento Cottage Ivy marker, Spica At You Lipstick pen, and Twinkling H2O Warm Pecan.  Used Sakura glue pen for the edges of the snow angels and DecoArt glitter, added bow to tree.  Mounted with 3D pop-dots after the cardfront background was done.
  2. I cheated on the CAC Dots background.  It is a leftover from another project.  It was stamped on white cardstock using VersaMark, Stick and Bond powder applied, heated until glossy, Deco Art Glitter applied, heated to seal.  Die cut and layered as shown.  Leftovers were torn for snow around trees.
  3. Used Spellbinders Labels 8 for the die cuts and as stencils for the white and blue cardstock as shown.
Thanks for stopping by to look and share!!
 Shirley 
SUPPLIES:

Saturday, September 4, 2010

A Cute Fall Card! With A Touch Of Halloween


This cute card is 5 3/8X5/3/8" and was created using IO Leigh Hannan's new Tree Owls.  It was stamped on Neenah Solar White Super Smooth cardstock with Brilliance Galaxy Gold and painted with Twinkling H2O's Nutty Oak, Warm Pecan, Ginger Peach, and Daffodil.  The background was done using StazOn Saddle Brown ink with IO Cover-A-Card Maple Leaves on Classic Laid Solar White cardstock (It has a tooth to it that you can see in some of the leaves).  I used a Sakura Quickie Glue Pen for the dots to make the stars, dusted them with Deco Art Glamour Dust.  When dry I painted over the tops and around some with Twinks Daffodil. (Directly below the card above is the bottom of the envelope)

The bow was done using 3 metallic sprays and ivory seam binding.  It was then crumpled up in the corner of a ziplock bag and left over night.  The next day it was released and then a Bow-Easy was used for the double bow as shown.  You can find the instructions HERE.   I love the vintage effect.

All of the punched edges were done using SU Orange cardstock and Martha Stewart's Gothic Arches Corner Punch.  I used Spellbinders Fancy Tags for the greeting. Below is a close up.


Click on the image and you will see the detail in the owls.  Their little eyes were done with Twinks Daffodil and Copic Spica Black glitter pen.  Glossy Accents were applied over them, and I swear they almost look just like real 'Owl Eyes'.  LOL  The heart is from Fancifuls, Inc. online store.  I tied it on with some leftover gold cord.  The pearls are Mark Richards 3mm.  The words are IO Leigh Hannan's Owl Eyes.  Isn't that saying just too cute!

The inside of the card, shown below, was done with a stamped area of the Tree Owls and left over remnants from the Maple Leaves background.  The envelope is handmade from matching Solar White 80lb. text paper.  The flap of the card was done with the same Martha Stewart Gothic Arches corner punch.


 Shirley
Related Posts Plugin for WordPress, Blogger...