Showing posts with label X-Acto. Show all posts

Saturday, September 4, 2010

A "Bootiful" Halloween Card


This card is 5.25X5.25".  I couldn't resist using these great Leigh Hannan Halloween Window and Pumpkin Patch stamps with the season upon us!   I stamped the Window stamp on Neenah Classic Crest Solar White Super Smooth cardstock with Stazon Jet Black.  The image was painted with Twinkling H2O's.  2 and 3MM pearls were mounted with Glossy Accents to the areas as shown.  Stickles Diamonds glitter glue was used for the frost on the windows.  A piece of the Solar White cardstock was put through the Cuttlebug using their Distressed Stripes (it reminds me of vinyl house siding).  The image was cut out and then the edges sealed with Twinks China Black.  The window portion was glued to the "siding" and then the shutters on the side had 3D pop dots put underneath to give dimension. 

The pumpkin with vines was stamped again and painted with twinks. The berries were painted orange and then Stickles Orange glitter glue was applied for effect.  The eyes and mouth of the pumpkin were painted and then Stickles Yellow used.  The pumpkin was cut out with an X-acto knife.   The edges were sealed with China Black and then it was turned over on a Pergamano mat and embossed for depth using a stylus.  If you click on the image below you can get a close up.  Just enough raise to give it depth.  It too was mounted with 3D pop dots.


The envelope is handmade from Neenah Classic Crest Solar White 80lb. Text paper.  The image is the Pumpkin Patch mentioned above.  The punched edges are from the DP used on the front with Martha Stewart's Modern Garland Corner and Edge Punches.

Designer paper was used behind the Distressed Stripes siding.  A piece of Solar White 80lb Text paper was punched also using Martha Stewart's Modern Garland Corner and Edge Punches.  It was first mounted on a piece of SU Orange cardstock.  The DP was mounted on that and then the main image was mounted using 3D pop dots.  The 5MM pearls were then mounted using Glossy Accents.  The pearls all have sticky on the back, but it doesn't hold nearly as well as being reinforced with Glossy AccentsMay Arts Deep Green Ribbon was sealed to the cardfront back and passed under the Distress Stripes as shown.  The bow was done with the Bow-Easy.

The stick pin is a pear shaped boutonniere pin.  The heart is a Czech glass bead with a Clear Czech bead below that.  All were sealed in place with Glossy Accents.

The inside (shown below) was done with the same DP used on the front with the same Martha Stewart punches.  The image is IO Leigh Hannan's Pumpkin Patch.  It too was stamped, cut out, sealed edges with China Black, turned over on the mat and embossed with the stylus, and then mounted with 3D Pop Dots.  The words are my own and computer generated.

The edge of the envelope flap is using the same Martha Stewart Garland punches.  The tiny pumpkin is from IO Leigh Hannah's  Candy Corn Tree.  It was trimmed, sealed, and embossed from the back too.  Mounted using a 3D pop dot too.


Hope you enjoyed the card.  Thanks for stopping by to look and share!!  Hope your Labor Day is great too!


 Shirley


Thursday, July 1, 2010

It's The IO Lazy Days Of Summer Challenge Today

And since I am back at the blog, I decided to submit my card too, along with the IO DT.  My card is pretty straight forward.  It was inspired by many of the cards, using Alesa Baker stamps, I have seen Julie Koerber do on her blog, Out To Impress, and she does!!

The image was stamped with Brilliance Galaxy Gold on 2 pieces of Neenah Classic Crest Solar White CS and then heat set with a heat gun. They were painted with Twinkling H2O's Dreamsicle, Olive Vine, Sweet Thistle, and Warm Pecan (wash to shade background). I trimmed around the best image and mounted over the other one with pop dots. That whole image with background was mounted on a scrap piece of Bazzill Clover Leaf Dotted Swiss. I trimmed around that with scissors, leaving about a quarter inch, letting the edge of the mounted image decide were to cut.

The greeting plaque was stamped by using a dauber for that piece of the stamp. Then it was trimmed around and mounted using ATG 1/4" tape. The faux brads are bead caps I flattened with a bead crimp tool. They were mounted using pieces of ATG tape and Mark Richards 2MM pearl stickers were mounted on top using Glossy Accents.

The white matte is Neenah Classic Crest Solar White text weight paper created using Martha Stewart's Eyelet Lace Around The Page punches. The image was mounted on top as shown.

To create the background mattes I ran a piece of SU Apricot Appeal through my Cuttlebug using the dots embossing folder from Just My Type around the edges. I mounted another piece of Bazzill Clover Leaf Dotted Swiss that had the corners punched using the Eyelet Corner Punch.

I really like the SU small slot punch, but it doesn't reach far enough, so I punched out a 'slot' with it and then drew the slots on my CS where I wanted to put my ribbon through. Then I used my X-Acto knife to cut them out. Didn't take that long at all.

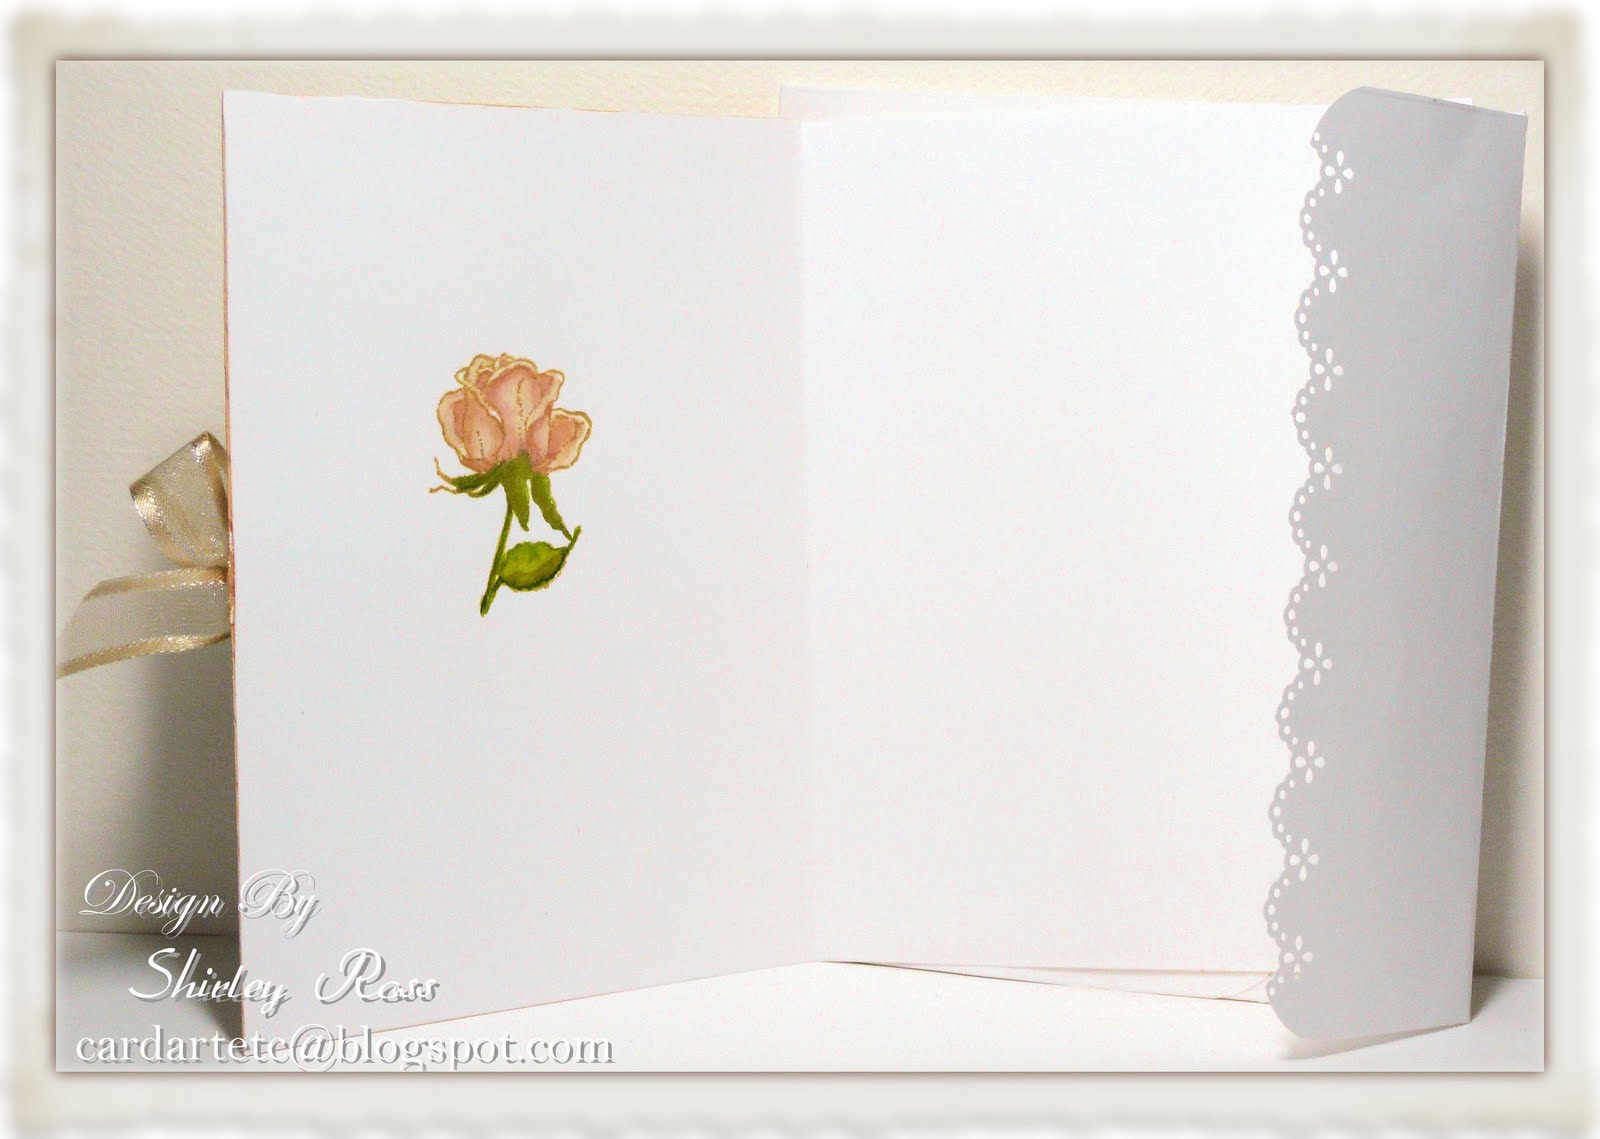
I mounted May Arts ribbon and used the Bow-Easy to create the bow. I glued Mark Richards 2MM and 5MM to the eyelets and corners of the Dotted Swiss cardstock as shown, using Glossy Accents. What you see next to the card is the corner of the handmade envelope stamped with the bud image. Below you can see what I did with the envelope's flap edge and also the image stamped and painted inside the card.


SUPPLIES:
Stamp: Stampassions: Summer Thyme Bouquet by Shara Reiner.
Paper: Neenah Classic Crest Solar White Super Smooth 80lb. cardstock and text weight for the punched edges, Bazzil Bling, Stampin' Up and Anna Griffin.
Inks: Brilliance Galaxy Gold, Twinkling H2O's Cherry Sorbet, Heavenly White, Orange Peel, Dreamsicle, Cool Waters
Accessories: Glossy Accents; Deco Art Glamour Dust; 1/8" pop dots, Heart button, Mark Richards 2mm pearl stickers, Martha Stewart Double Loops Punch Set and EK Success Paper Shaper Butterfly punch.


You should also take at look at the wonderful cards that the IO DT did and the other cards the customers are entering for a chance at the $25 Gift Certificate.  See the IO DT cards at their blogs below:

First take a look at the Design Team's creations:
And now take a look at the beautiful cards the customers are entering for a chance to win a $25 Gift Certificate by going HERE.  For those of you who are new to IO Blog Challenges, follow the guidelines below and you too can get a chance to win the $25 Gift Certificate for free stamps of your choice in IO's online store:
  • Challenges are held the First and Third Thursdays of each month, unless otherwise noted.
  • Please use at least one Impression Obsession stamp.
  • Please provide the name(s) and/or stamp number(s) of IO stamps only with your email to me.  If you have a problem finding this information, sometimes I can help.
  • Let me know if you want me to post on the IO blog, using only your blog with hyper-link, or both, etc. 
  • Entries will be accepted until that Saturday 9 p.m. Eastern Standard Time.
  • Email your entry to me using the Email Shirley link provided near the top of the second sidebar to the right on the IO blog.
  • All participants' cards will be posted the way you choose the day they are entered.
  •  Cards with only all IO Stamps will permanently be added to the IO Customer Album in the very next sidebar over.
  • ALL participants in the current challenge will be entered in the drawing for the Impression Obsession $25 Gift Certificate. We use Random.org to select the winner.
  • It is for use at our ONLINE STORE.
Giftcert25  
Don't forget a list of our challenges is on the sidebar to the right.  If you have questions, please don't hesitate to ask.  So get busy out there!!  Stamp up a Lazy Crazy Day of Summer card and send  it to me.  Hope your week is starting out great!!  Thanks for stopping by to say hi!


 Shirley


Related Posts Plugin for WordPress, Blogger...